I am not a carpenter. My occasional effort to build something, no matter how mundane, ends badly. That’s because carpentry is hard. There are a hundred ways to screw up, and ninety of them are only obvious in retrospect. I took shop class in middle school, so I’m generally comfortable with the tools of the trade, but of course I don’t actually own a drill press or a band saw or any of the other sixties-era industrial equipment that my school trained on. One time I tried to build a temporary woodshed—just something to cover some freshly-milled lumber until it dried—and I wound up blowing a couple of hundred bucks on the structural equivalent of the deformed Ripley clone in Alien Resurrection.
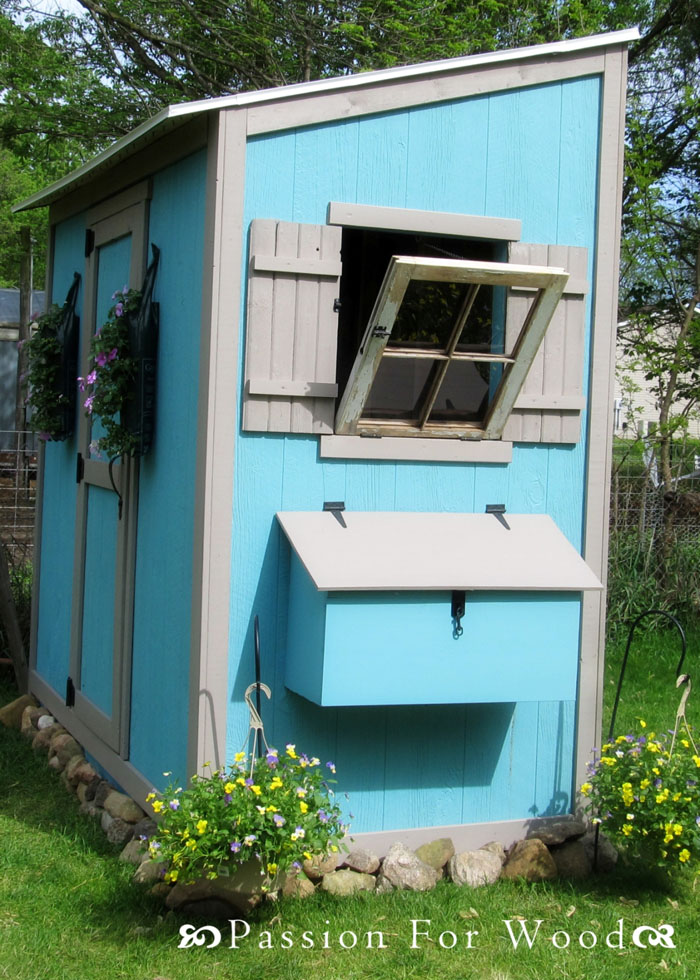
But our chicken coop’s lifespan was reaching its end, and I was faced with a choice: repair our six-year-old (to us), second-hand chicken coop? Or build a new one? One thing led to another, and before I knew it I’d decided to build a pretty non-trivial shed-cum-coop. The cost of the materials was steep—about $800—and I didn’t understand easily a quarter of the instructions. (“Pocket holes”? “Kreg Jig”? “Toenail”?) I figured I could knock it out in a week. That was in May. I finished it this week.
Preparation
There were a few things I figured out quickly. The first was that my tools were not up to the task. Using a combination of American Express points and cash, I got a cordless drill, aviation shears, some stronger drill bits, sawhorses, an 8′ ladder, and a jigsaw. I filled up my pickup’s bed in the first of a dozen trip to Lowe’s, with dozens of 2×3s and 2×4s, a stack of plywood and T-11 (which turned out to be a kind of cheap, wooden siding), screws, hinges, concrete deck blocks, and bags of gravel. The second was that I was in way over my head. The third was that I was determined to follow through to completion, not cutting any corners, but getting it right for once.
The Foundation

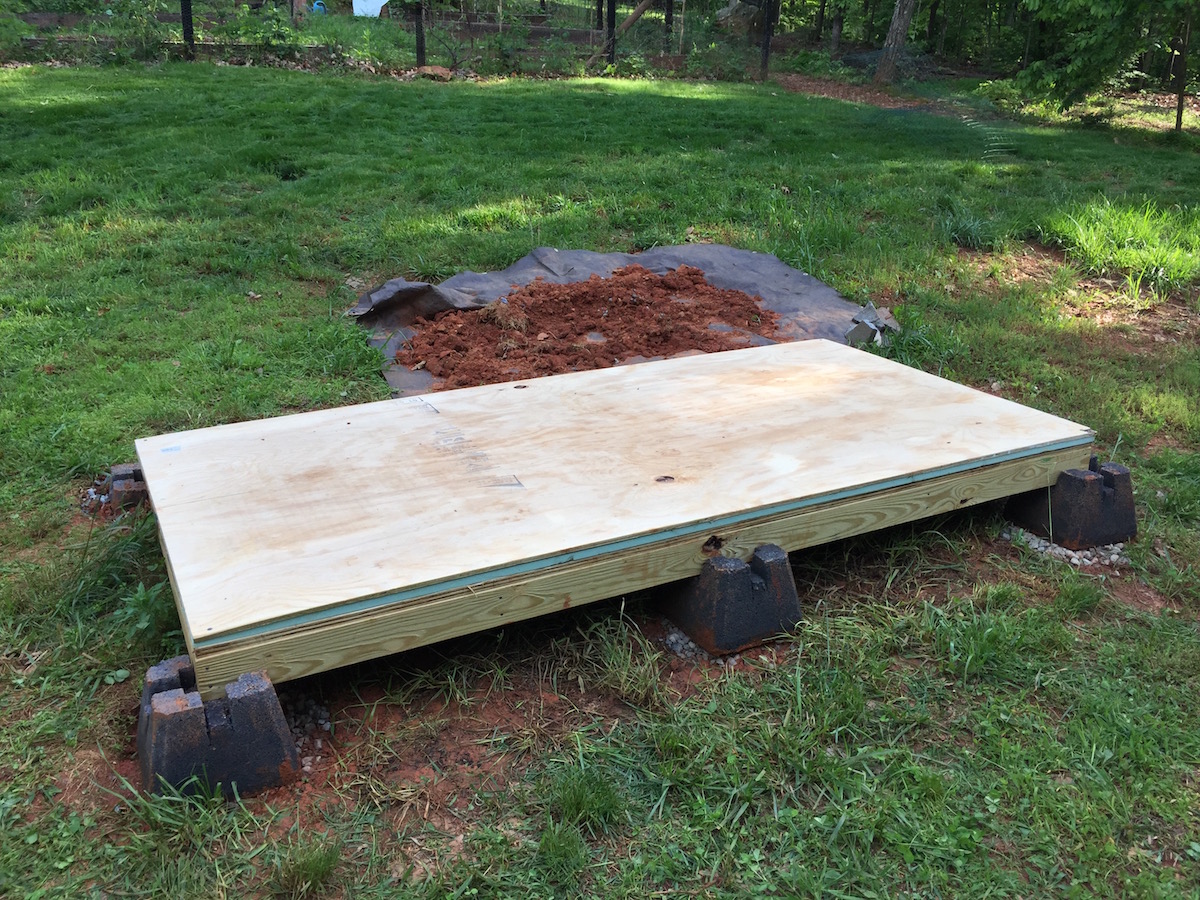
The foundation was a huge pain in the ass. I had no idea. Living on the side of a mountain, as I do, there is no flat ground. Getting each of the six of the concrete deck blocks both level and located correctly relative to the other five blocks was an exercise in frustration. I did this work on a 90° day in May, and within 30 minutes I found myself wanting to cut corners. (“This is level enough.” “This is square enough.”) A bad foundation would be a bad…er…foundation, so I stopped, relaxed, thought about it, took measurements, and did things right. Framing the foundation was easy—it was just a grid of treated 2×4s.
I put a plywood/insulation sandwich atop the foundation framing, to which the walls could be attached.
Framing the Walls
“Measure twice, cut once.” This aphorism is wrong. Twice is not nearly enough times. I built each one of the coop walls at least two times. It’s pretty simple, in theory—cut sticks of wood at the prescribed size, screw them together with an impact driver—and yet. Three of them were pretty straightforward, at least in retrospect, but the back wall was tough, because the header (the piece of wood that spans the top) had to be mounted at an angle, for the shed roof to slant down. This meant learning to use my speed square. It’s basically a protractor for carpentry. Once I figured it out, it was easy. When they were all finished, my shed was completely full of framed walls.
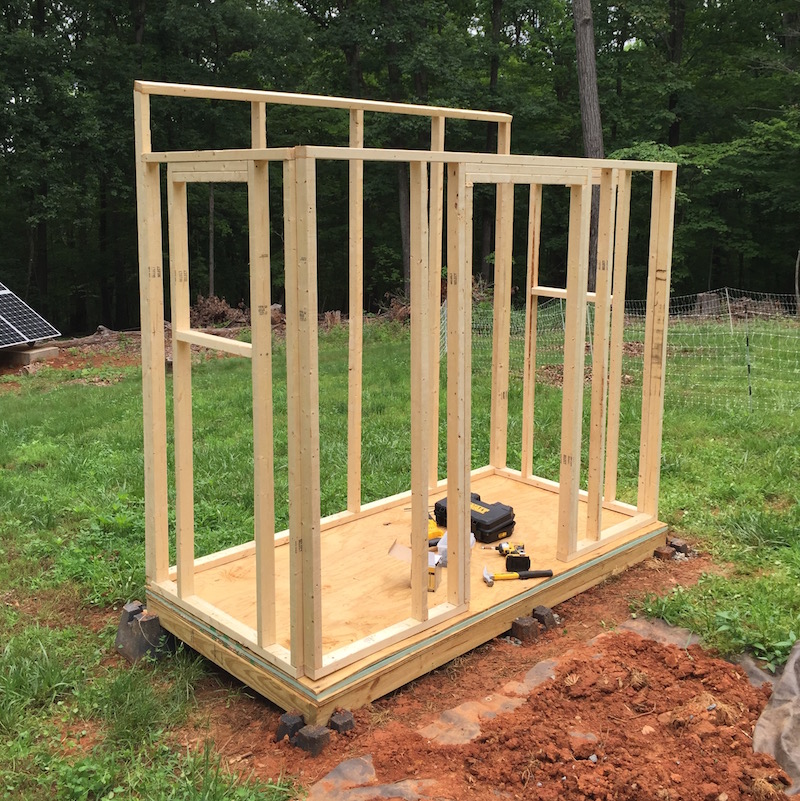
Mounting the walls to the foundation was not a one-man job. I pressed my wife into service, who held each of them up while I used structural wood screws (very long, thick screws) to affix each of them to the foundation. When all four were up, I had walls that were all wrong. The front wall was not wide enough—falling maybe 1.5″ short of reaching all the way to the left side of the shed—and the side walls were also too narrow, meaning that the whole shed had a 1.5″ lip on the front of it. At this point, I could have taken down the walls and rebuilt them, but I decided these problems were within reason, and also rebuilding the walls sounded awful.
At this point it looked real! Or, at least, like a real-world wireframe of something real.
Skinning It
The next step was to put T-11 siding on, and plywood to form the roof. This could have been through transferring the framing measurements onto waiting sheets, but instead I went with something more direct—my wife held the sheets in place, while I traced the outline of the framing. Using the sawhorses and clamps to hold the sheets of wood in place, I used the jigsaw to cut along the lines. After mounting them on the framing, using the impact driver to quickly affix a couple of screws, I used the jigsaw to trim off the remaining bits. Since the roof is just a big rectangle, I was able to cut out the plywood for that pretty easily.
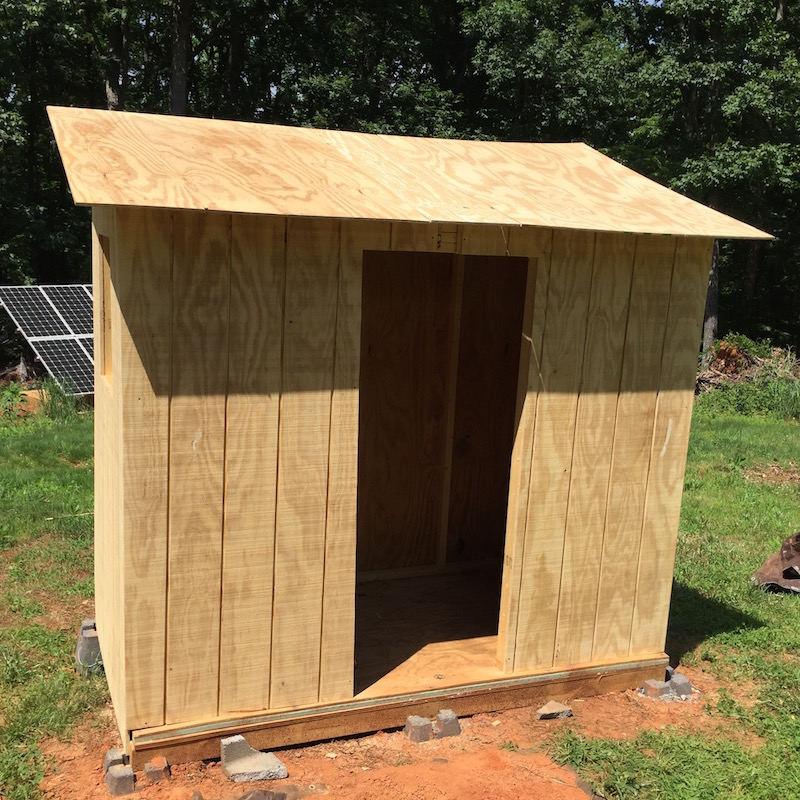
At this point, I thought most of the work was finished. That was not even a little bit true.
Doors, Windows, and Roofing
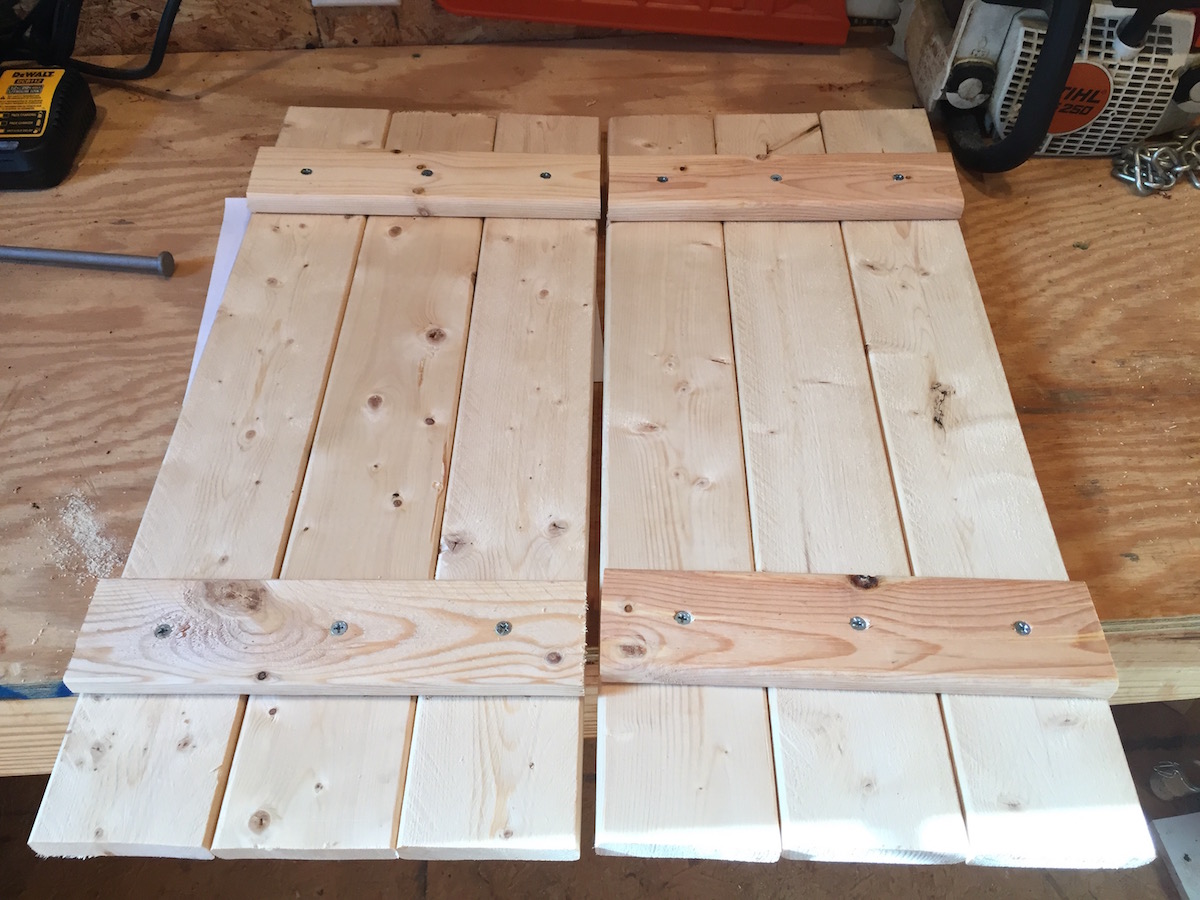
I immediately set to building doors and shutters, to keep the rain out. Both turned out to be surprisingly easy. The shutters are just a long piece of wood cut into five segments and screwed together. I covered the windows with hardware cloth, to keep out predators. The door is just a piece of plywood with some framing to keep it rigid. (That’s not to say they’re great. More on that below.) Trim was also pretty simple, although complicated a bit by the need to make sure that the style is kept consistent (e.g., horizontal trim overhangs vertical trim, and 4″ wide corner trim overhangs corners by 1″, where it meets 3″ trim). I made a bunch of mistakes on the trim, despite its hypothetical simplicity, but I eventually got it more or less correct.
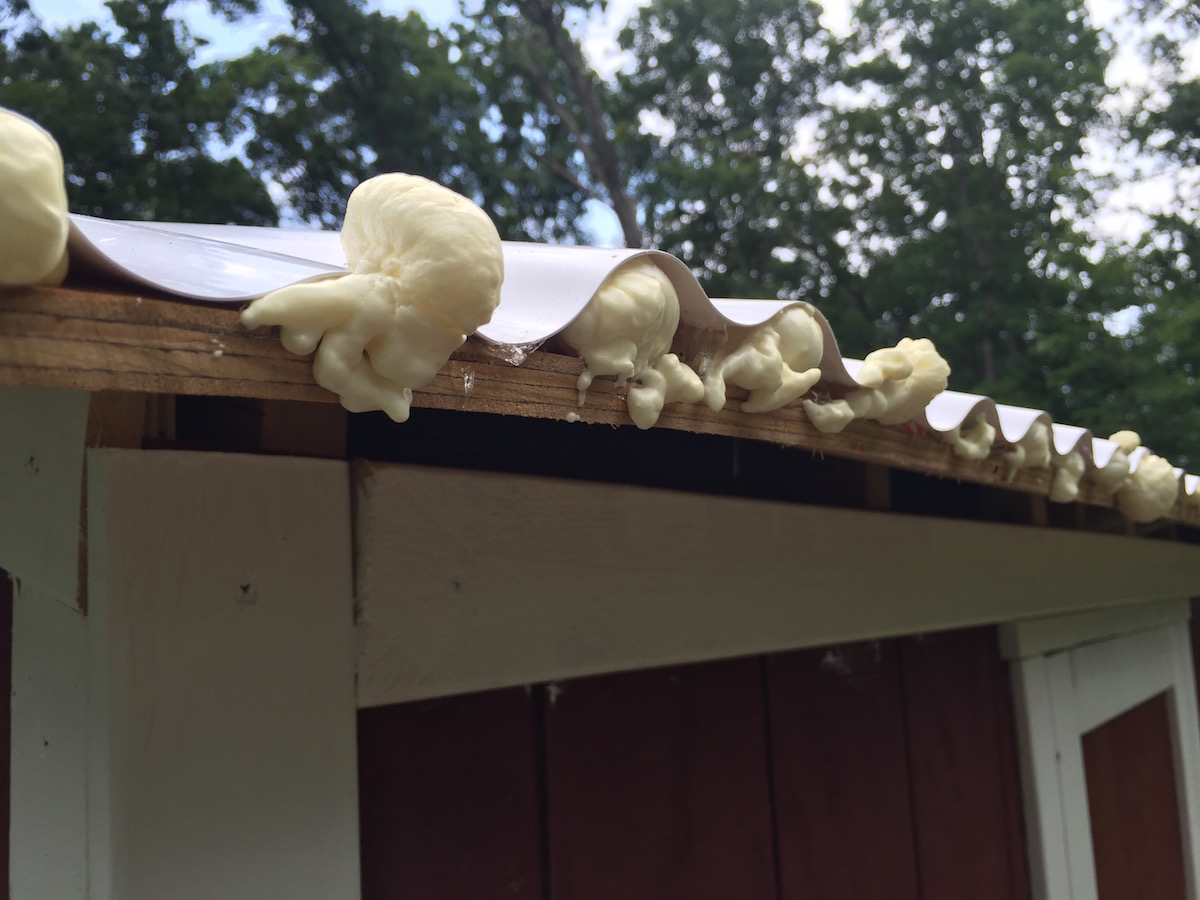
The next protective measure was the roof. I’d hoped to use metal, but the more than I read about working with metal roofing, the more convinced I became of the inevitability of grievous injury. So I went with cheap, plastic roofing, which was really hard to cut (the saw made it vibrate all over the place), and I wound up hiding the terribly ragged cut ends on the back side of the coop. It was easy enough to screw down and, later, use gap sealer to close off the space under each of the ridges in its wavy profile.
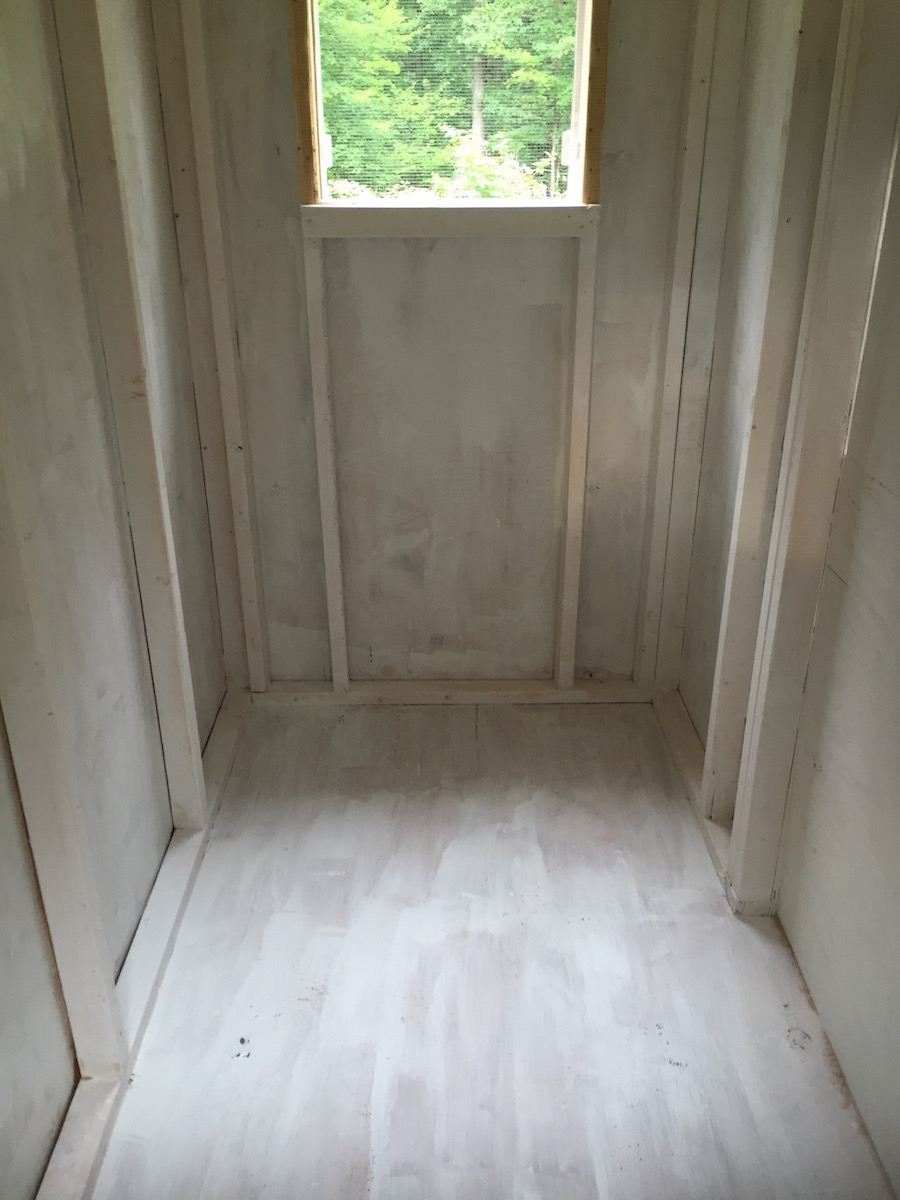
Painting

Painting was not so easy. I used red barn paint on the T-11 and white latex paint on the trim. (I still haven’t treated the wooden foundation, to protect it from rot, but I intend to do that shortly.) The trim needed two coats, the painters tape refused to stick to the T-11, cleaning paintbrushes turned out to be frustrating and hard, and I kept splashing things with the wrong color of paint and forgetting to paint every surface (e.g., the top edge of the window trim). I had to paint in inside, too, to protect it from the messy realities of poultry. I did that with (white) Kilz primer, painting the walls and the floor.
Floor
Paint would not be enough to protect the floor. I bought a roll of cheap, remnant vinyl flooring and a small bucket of flooring glue. Following instructions carefully, I trimmed it to fit and glued it down. After it dried, I used silicon caulk to seal the edges, to keep moisture from getting under the floor.
Poultry Accouterments
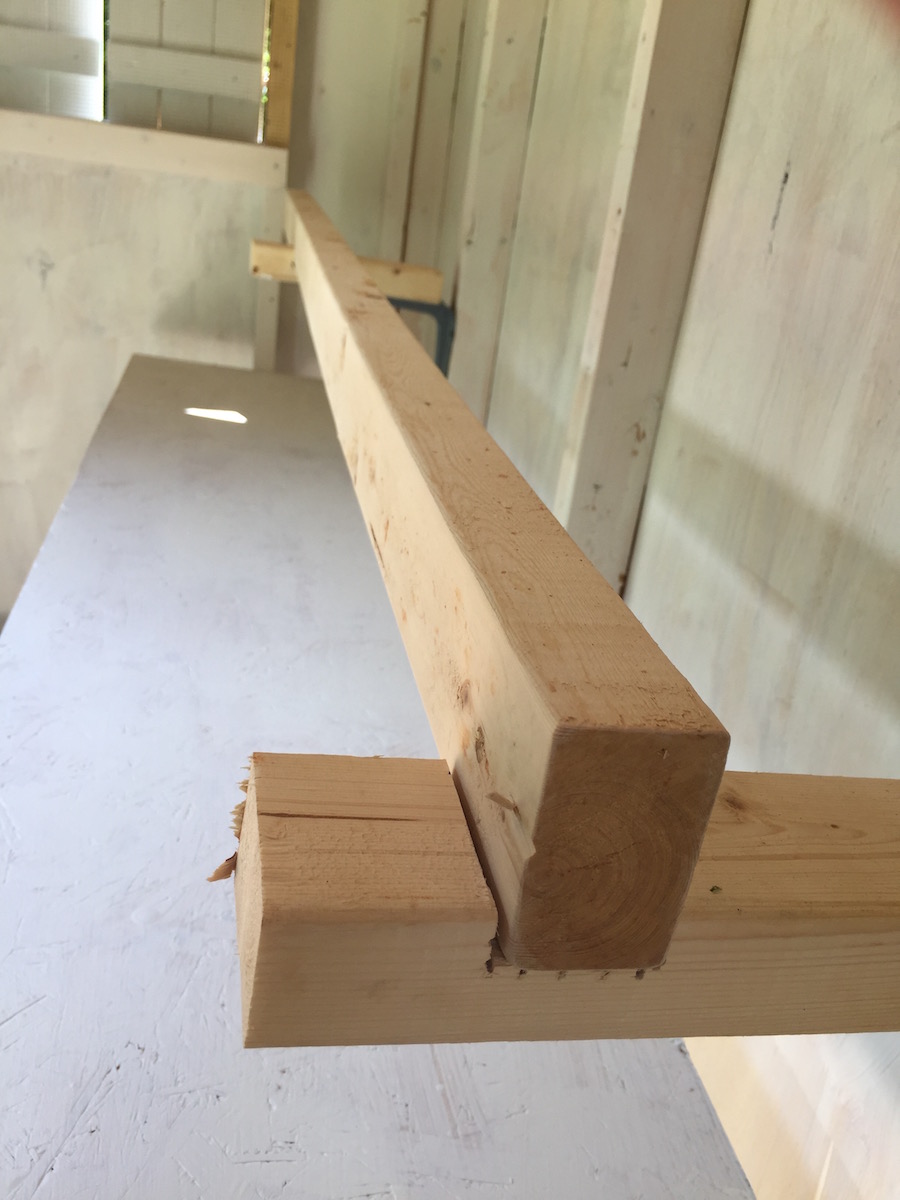
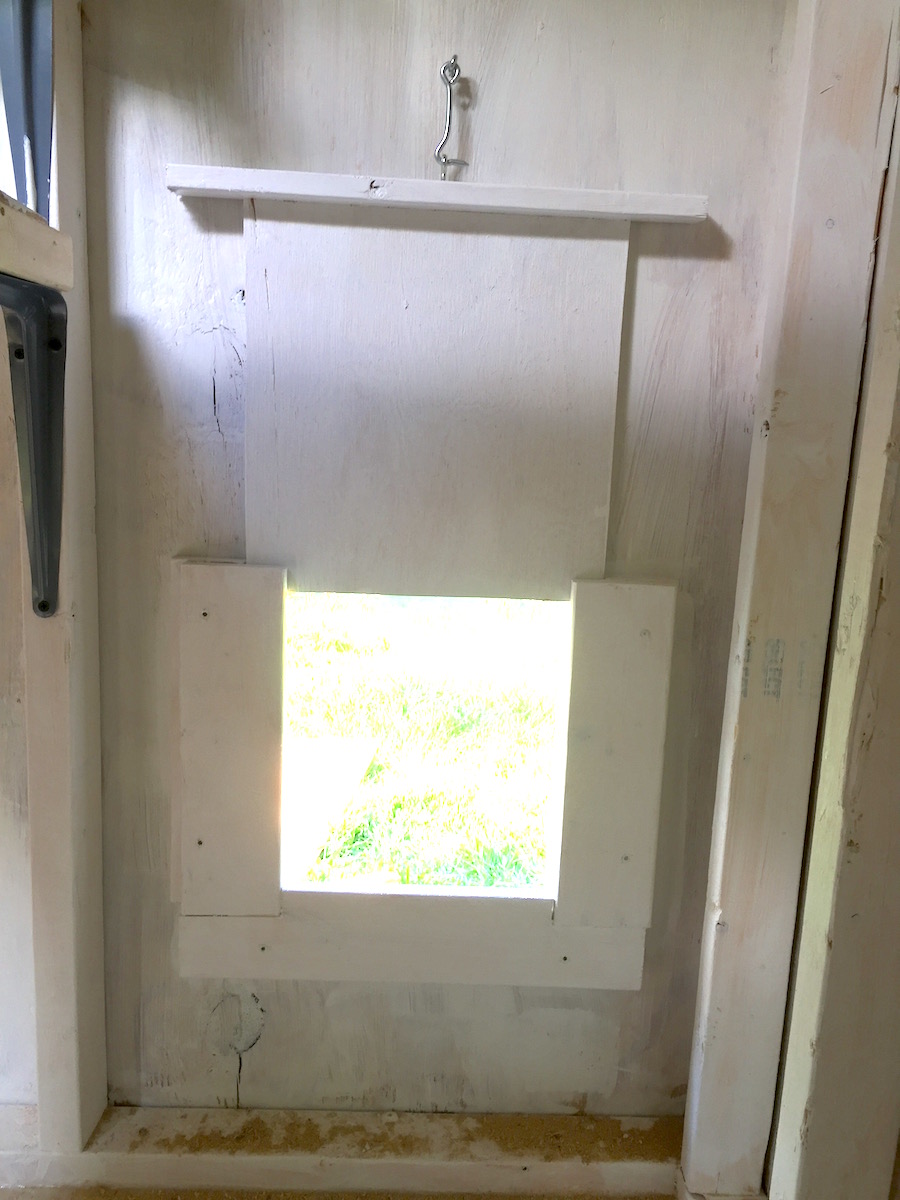
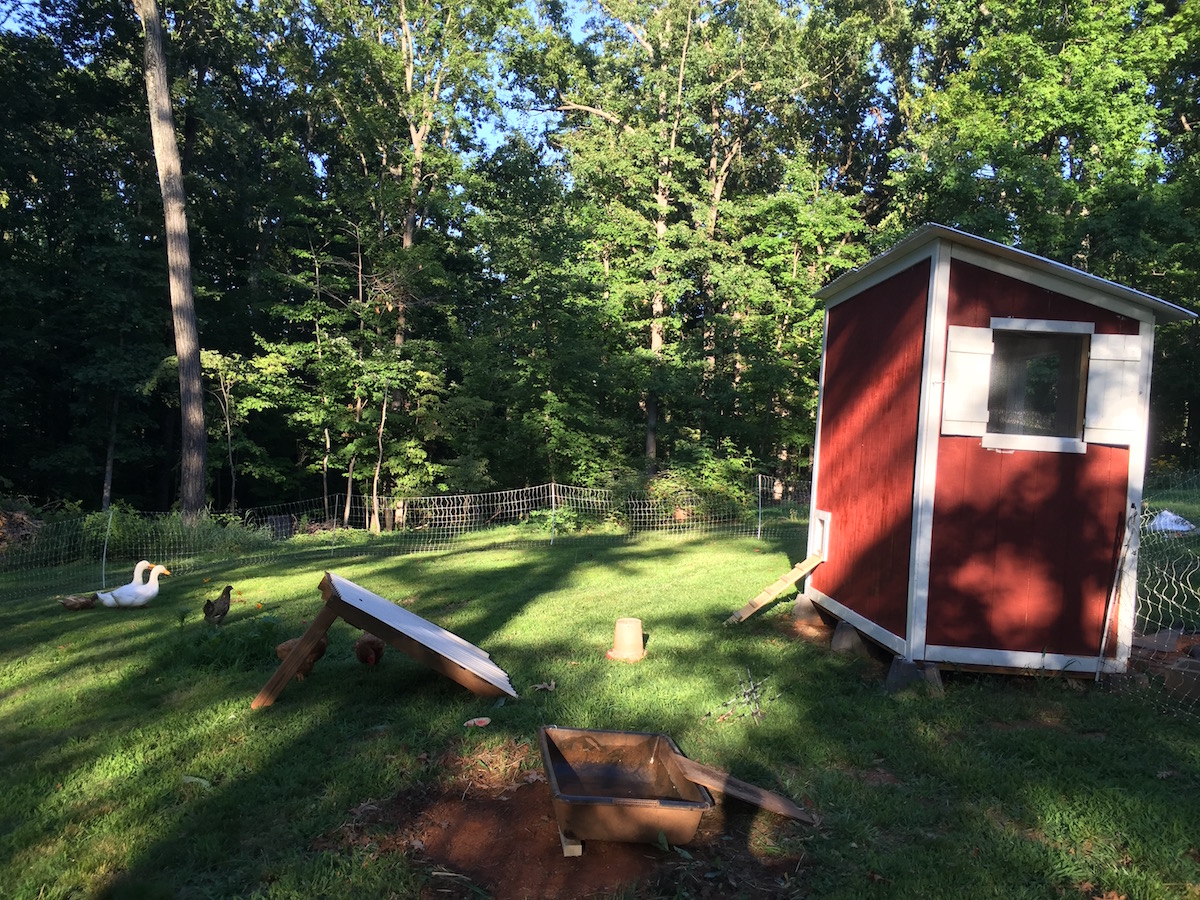
At this point, I had a shed, which would do my chickens and ducks no good in its present form. Using some industrial-strength shelving brackets, I made a mount for a perch—which would consist of a 2×4—and, below it, a wide shelf (known as a “poop deck” for obvious reasons). I cut a 12″ square hole in the wall for the hens’ door, and built a little glide-track frame for a guillotine-style door. And I used some leftover T-11 and lumber to assemble a ramp for the hens to use to get in and out of the shed, as their door is elevated a good two feet above the ground. It remains to build nesting boxes and a second door, so that we can rotate their pasture access.
Acceptance Testing
They’re not thrilled with the change. Our hens have spent their whole lives in their rapidly-decaying mobile coop. One even flew over the fence to get to their old coop, where I found her in the nesting box at dusk. On the first night, I had to carry each of them into the coop, one by one, and lock them up to prevent their escape. So, not a home run.
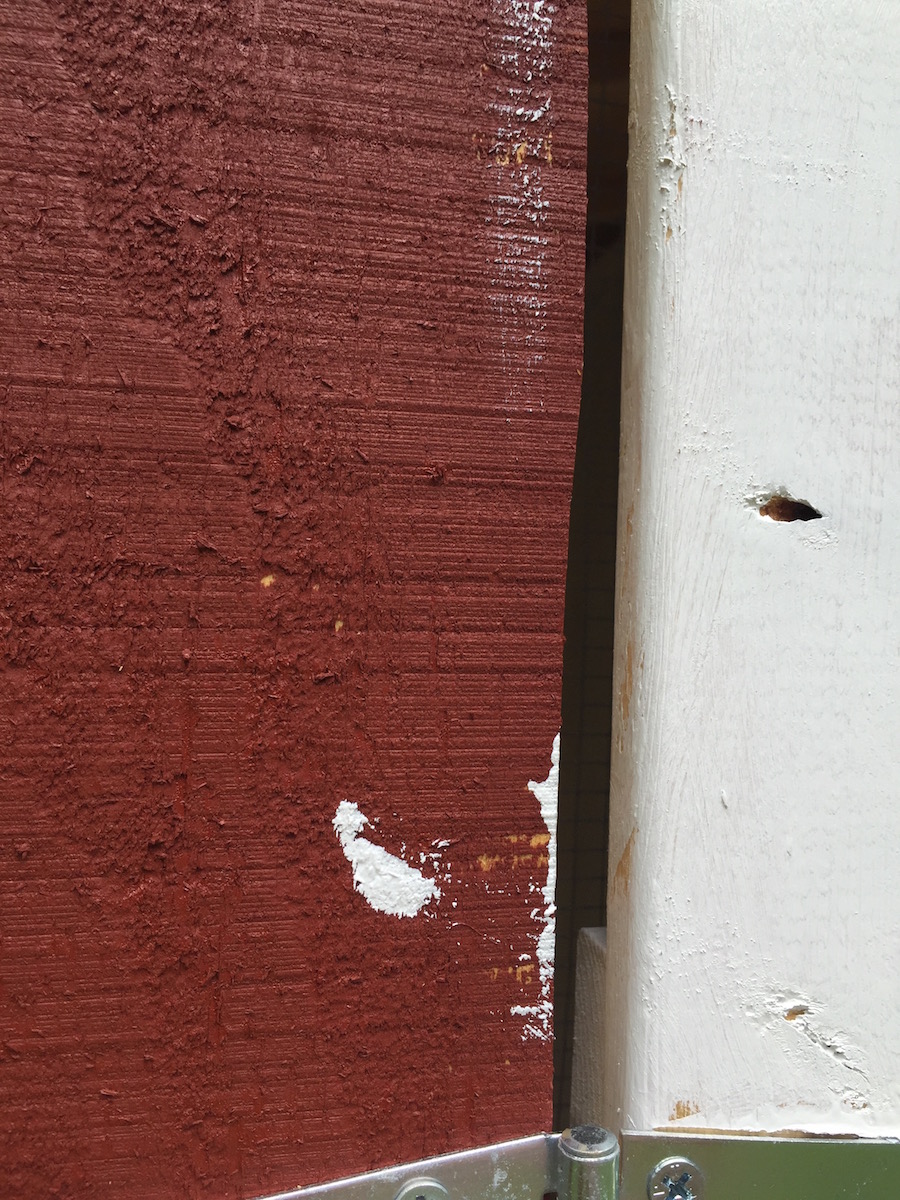
Mistakes
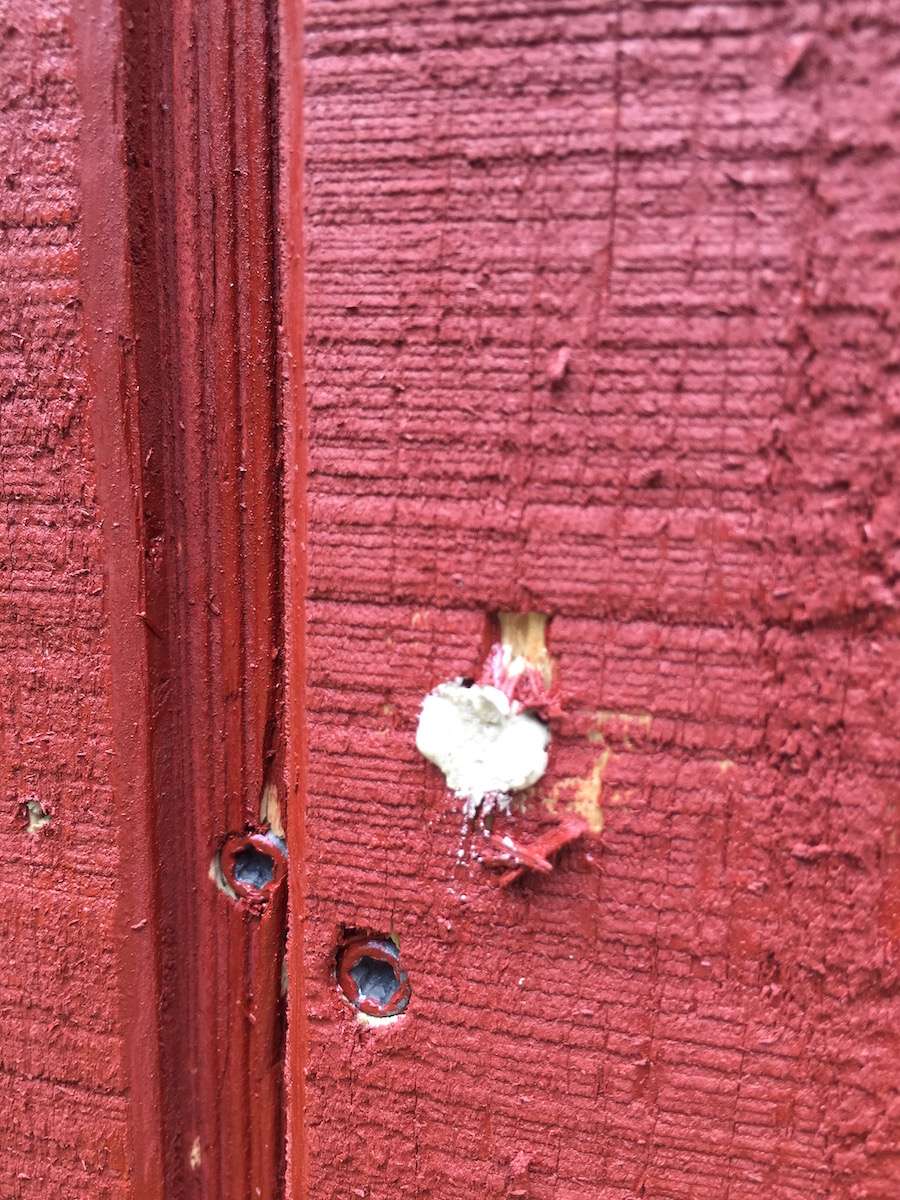
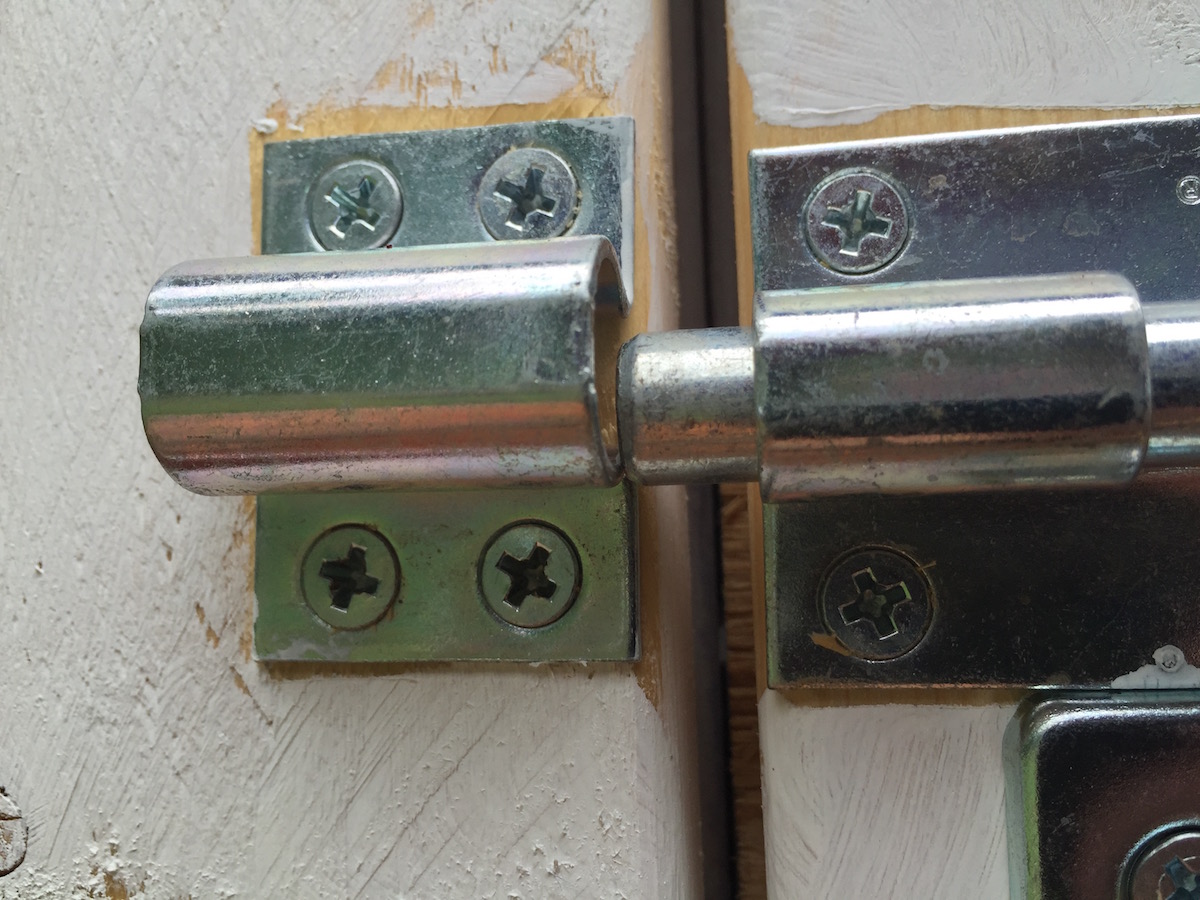
Oh, God, the mistakes. I see nothing but mistakes when I look at the shed. A door latch that doesn’t quite line up. Shutters with a 1″ gap between them. Little holes everywhere, where I had to re-drill and later patch with wood filler. Blobs of gap filler, which expanded far beyond my expectations, requiring that the excess be trimmed off with a knife. Crooked trim, angles that aren’t even close to 90°. I could go on. Some of these I’ve fixed, or will fix. Others I’ll have to live with. But I think all are within reasonable parameters.

Lessons Learned
So, so many lessons learned.
- Learning new things is hard. Learning new things in the physical world—i.e., not writing code—is really hard.
- Building things is expensive. Even if the individual components are inexpensive, the tools required to build stuff cost a lot of money.
- When I hear a nagging voice in my head that says “hey, you’re making this wrong, maybe,” I should stop and listen to it.
- Painting sucks.
- Expect to do everything at least twice, because I’m going to mess it up the first time.
- Building physical things scratches a very similar itch as building software, with the frustrating exception that a physical thing can only be used by me, while software that I build can benefit many people.
All in all, this has been a great experience. I’ve gotten a lot better at basic carpentry in the intervening two months, making fewer mistakes and increasing my understanding of what’s possible. I intend to continue to build things, as life necessitates. But now that this project is wrapping up, I look forward to getting back to writing code.
Looks great, and the time frame is better than I often achieve on my projects!